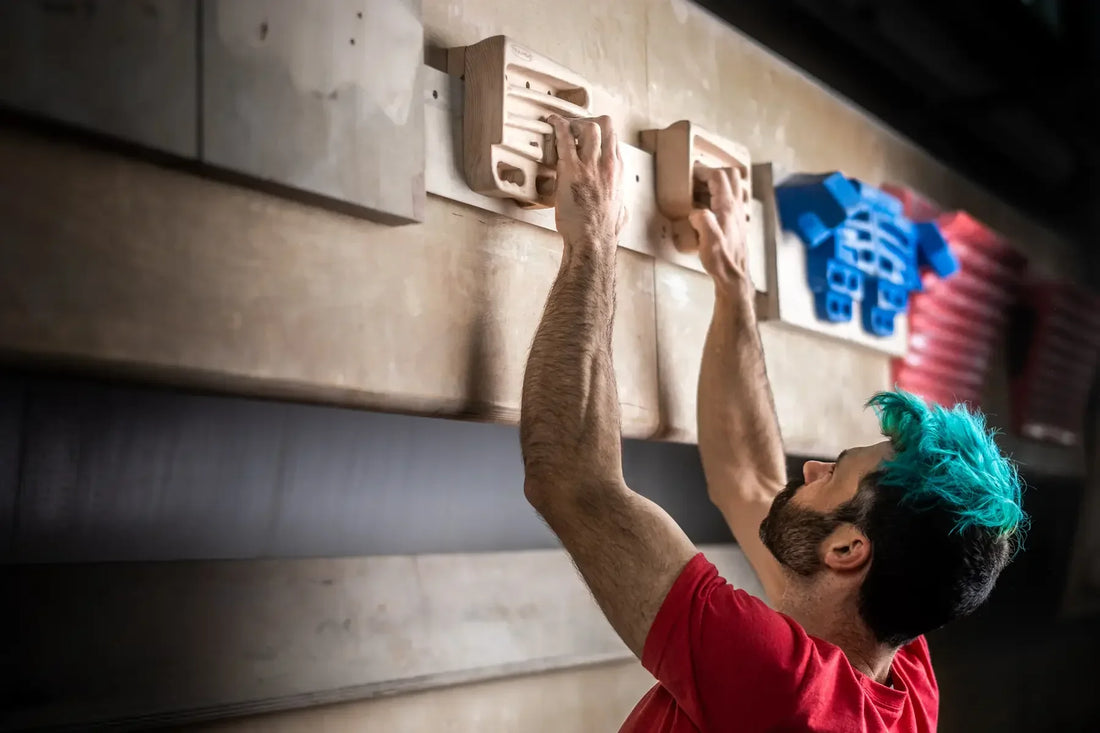
Advanced Fingerboard Training: From Hangs to Power Development
Share
Fingerboard training is essential for climbers looking to build maximum strength, contact strength, and endurance. However, without a structured approach, it’s easy to plateau or risk injury. This guide covers progressive training methods, wall-specific adaptations, and advanced techniques to take your finger strength to the next level.
Structured Fingerboard Training Plans
1. 7-3 Repeater Hangs (Strength-Endurance Focus)
-
How it works: Hang for 7 seconds, rest for 3 seconds, repeat for 6-8 sets.
-
Grip type: Open-hand or half-crimp (avoid full crimp to prevent injury).
-
Best for: Improving endurance on small holds (e.g., long sport routes or boulder problems).
2. Max Strength Cycles (Recruitment & Power)
-
Method: 5-10 second maximum effort hangs with 3-5 min rest between sets.
-
Progression: Gradually add weight (via a weight belt) or reduce edge depth.
-
Best for: Building raw finger strength for hard boulders or crux moves.
3. Deadpoint Hangs (Dynamic Strength Training)
-
Execution: Start slightly below the edge, then explosively catch the hold in a controlled hang.
-
Key focus: Mimics real climbing movement where precision and power matter.
-
Best for: Improving contact strength (critical for dynamic moves on small holds).
Training for Different Climbing Styles
1. Small Crimps (Edge Depth Selection)
-
Ideal edge: 6-10mm (for advanced climbers, beginners should stay above 15mm).
-
Training focus: Half-crimp hangs with strict form (no cheating with full crimp).
-
Why? Builds tendon resilience for technical face climbing.
2. Pinches (Thumb Engagement)
-
How to train: Use a pinch block or wide fingerboard edges.
-
Exercise example: Weighted pinch hangs (3-5 sec, 4-6 reps).
-
Why? Essential for slab climbing and compression moves.
3. Sidepulls & Underclings (Directional Loading)
-
Training method: Offset hangs (one hand on a smaller edge, the other on a larger one).
-
Progression: Gradually increase the difficulty by using smaller holds.
-
Why? Improves tension and body positioning on steep terrain.
Advanced Fingerboard Techniques
1. One-Arm Lock-Offs (Strength & Stability)
-
How to progress:
-
Start with feet on the ground (assisted).
-
Move to one-arm hangs with a light counterweight.
-
Finally, full one-arm lock-offs (3-5 sec holds).
-
-
Why? Builds unilateral strength for powerful moves.
2. Deadpoint Catches (Contact Strength)
-
Execution:
-
Start with hands off the board.
-
Explosively grab the edge and hold for 1-2 seconds.
-
-
Why? Trains fast-twitch muscle recruitment for dynos and hard catches.
3. Fatigue-Resistant Training (Capacity Building)
-
Method: Density hangs (multiple short hangs with minimal rest).
-
Example: 10 x 5 sec hangs, 5 sec rest between reps.
-
-
Why? Increases recovery ability between hard moves.
Key Training Principles
✔ Periodization – Alternate between strength, power, and endurance phases (e.g., 4 weeks max strength, then 4 weeks power endurance).
✔ Edge Depth Selection – Train on different sizes (15mm for endurance, 6-10mm for max strength).
✔ Anti-Fatigue Strategies – Use contrast training (alternate heavy hangs with explosive pulls) to prevent overuse injuries.
Final Tips for Safe Progression
-
Always warm up (10-15 min of easy hangs, wrist mobility drills).
-
Limit sessions to 2-3 per week (finger tendons need 48+ hours to recover).
-
Stop immediately if you feel joint pain (finger injuries take months to heal).
By incorporating these structured, wall-specific, and advanced techniques, you’ll develop elite-level finger strength while minimizing injury risks. Train smart, and crush harder! 💪🧗♂️
