The Ultimate Doorway Trainer Starter Guide: Your First At-Home Workout
Share
New to pull-up bars? Don't worry, we've got you covered.
Introduction:
So, you've bought your first doorway trainer? Welcome to one of the most effective and space-efficient ways to build a powerful upper body and core at home! But if you're staring at that bar wondering, "What now?"—this guide is for you. We'll walk you through everything from safe setup to your first fundamental exercises.
Section 1: Safety First & Setup
Before you even think about doing a pull-up, let's get it set up correctly.
-
Choose the Right Door: Ensure it's a standard, sturdy doorframe. The door must open away from you when you're training.
-
Secure the Bar: Follow the manufacturer's instructions precisely. Twist the bar tightly until the supporting brackets are firmly pressed against the frame. Always give it a firm pull to test before loading your full weight.
-
Checklist: Make it a habit to check the tightness of the bar and the stability of the door before every session.
Section 2: Your First 5 Exercises (Master the Basics)
Forget max reps; focus on perfect form.
-
Dead Hang: Simply grab the bar and hang with straight arms. This builds grip strength and decompresses your spine.
-
Scapular Pulls: From the hang, retract your shoulder blades down and back without bending your elbows. This is the essential first part of a pull-up.
-
Inverted Rows: Set the bar at waist height, lie underneath it, and pull your chest to the bar. Keep your body straight. The closer your feet are to the bar, the harder it gets.
-
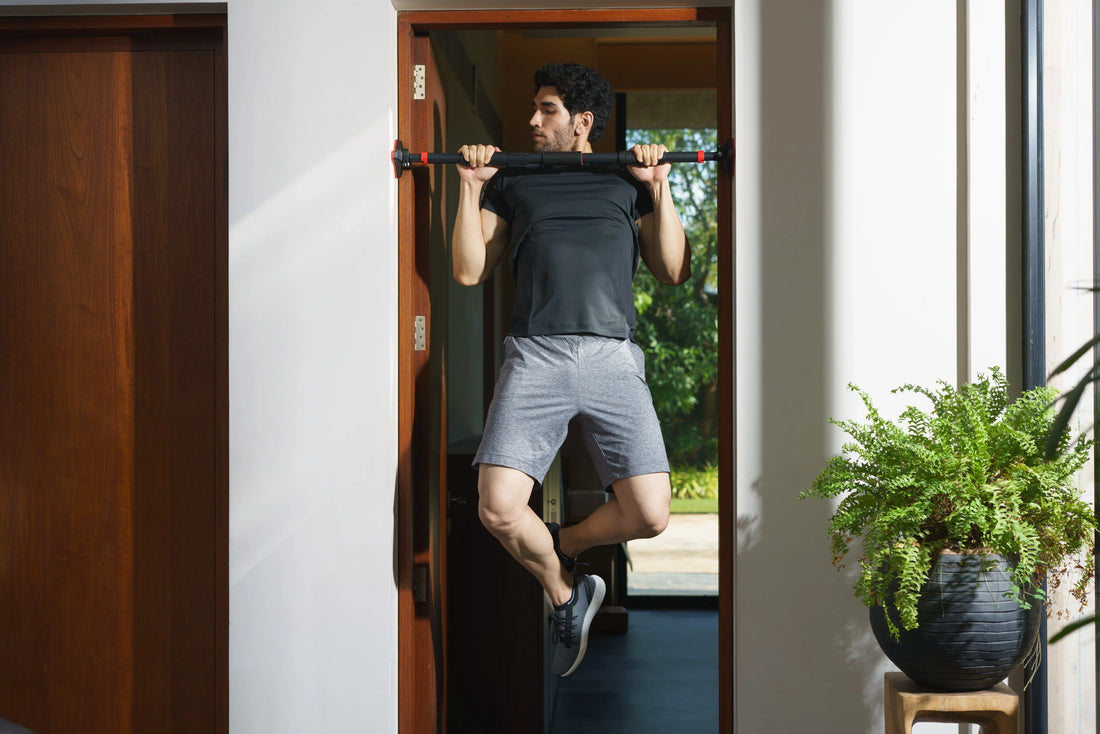
Assisted Pull-Ups: Use a resistance band looped over the bar to support your knees, or jump up to the top position and lower yourself down as slowly as possible (negative pull-up).
-
Knee Raises: While hanging, lift your knees towards your chest. This is your gateway to a stronger core.
Conclusion:
Consistency is key. Start with these basics 2-3 times a week, and you'll be amazed at your progress. That first unassisted pull-up is closer than you think!